Welcome to the second installment of the Mario Cube project.
When I last updated youse, the box was a mere skeleton.
But now, the box is covered in skin, the hinges are installed, and the construction phase of the box is done. All that’s left to do is to phase 3 – paint. But that’s fodder for another blog post.
The skinning of the box is a relatively simple task, but it is really fiddly. There is a great deal of shift and shimmy, a lot of nudge and bump… I’ll just say this, I’m really glad that I’ve got my new belt sander.
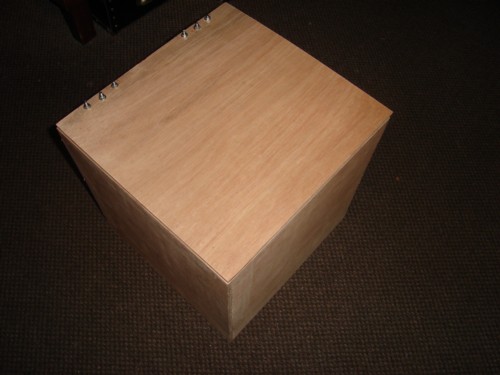
If you’d care to step this way, and glance downwards you’ll see the nearly finished project.

Here it is. Notice the bolts, I’ll get to those later.
Each side of the box was a little fiddly to fit, but these things usually are. I decided to have the plywood overlap on one corner of each side so that end grain would only appear once on each side. This decision also made each of the sides closer to each other in size. I tacked the plywood to the skeleton after cutting and then belt sanded three of the sides; I belt sanded the fourth after the second side was tacked in place. It made the whole thing nice and uniform. Brilliant.
Pictures of the inside and details about the bolts after the jump.
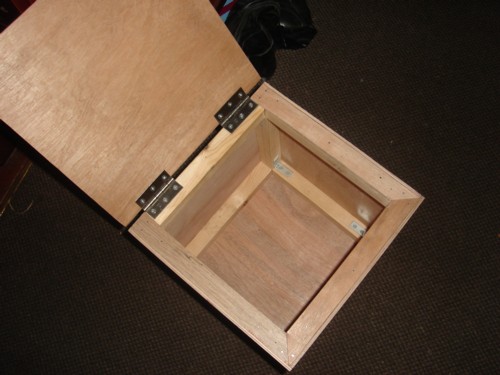
The inside:

You like?
I finished the top spacer pieces before mounting the sides, then sanded the sides flush with the top for that nice clean look.
Now – those bolts. I was discussing how to attach the hinges to the top in the last post, and I settled on bolts. I had to go to 3 different hardware stores to find the correct type of bolt: 6mm countersunk if you must know. They fitted smoothly into the pre-drilled holes in the hinges so I was able to just drill some carefully marked holes and bolt the hinges to the top. I used a washer to stop the nut cutting into the plywood. The bolts are different lengths, but I’ll get my hands on something that will grind them down and take off the ragged edge they have right now.
I’m very happy with the way this project is working out so far. It’s pretty low budget at the moment, and all I have left is phase 3.
– The Mad Carpenter.
Next time
Phase 3: Paint and decoration.

EEEEEEEEEEEE
You have a belt sander? If you were a girl, I’d want to marry you. ;0