And we’re off. So after rough cutting my 17 foot lengths of material down to a manageable size I started marking out and cutting the back upright. This piece, and it’s mirror, are the anchors of the desk. The writing surface and the shelves intersect with it, and it connects to the two legs, which connect to the front uprights which support the front of the desk.
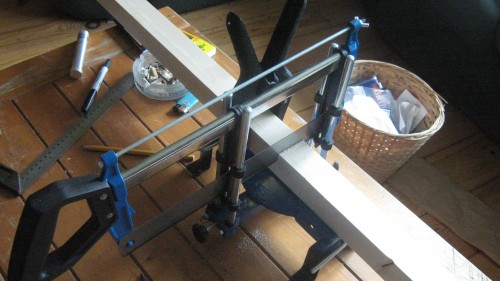
So, it’s a bit crucial to get it right. I’m using this new mitre saw I bought a while back for in and around 20 euros from Homebase, and it does a great job of making sure that your cuts are straight, or well angled if you so wish. It doesn’t do compound mitres, which annoyed me slightly when taking it out of the box, but after using it today it does many jobs quite well. Cutting 2 by 2’s though… it’s about as much as it can handle.
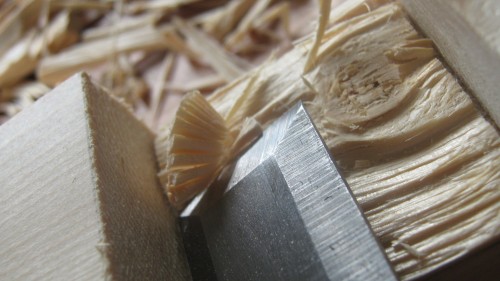
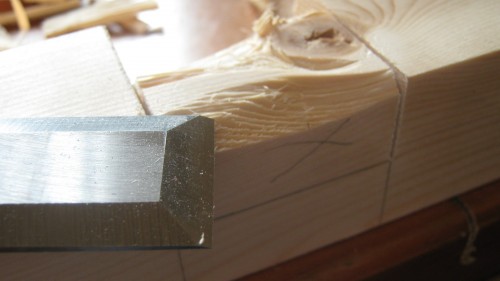
After cutting the sides of your half lap joints with the mitre saw, a tenon saw would do the trick, you start to chisel out the piece that’s left going no farther than the line you have marked. Chisel up at an angle from both sides, then slowly work across until the bed of the joint is level. Don’t chisel straight across as you’ll blow out the back of the joint.
Measure twice, cut once. The mortises in the back upright need to be exactly the same on both sides, otherwise the desk won’t sit level. And if the desk isn’t level you’ll have many pencils roll off onto the floor.
Measuring and cutting the other pieces according to the plans, create one side of the desk. If you have google sketchup and you wish for me to email you the plans then leave a comment below.
When you complete one side, it should look like this.
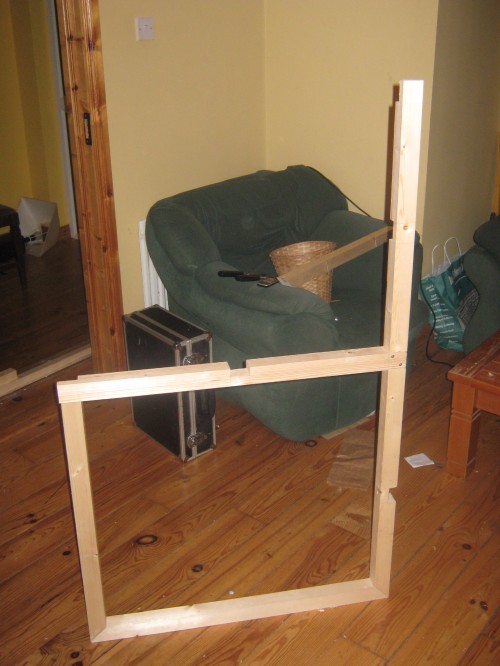
And then you rest. Or if you have power tools, you’ve finished the whole desk by now. But I’m going to hone my skills with hand tools for now. More tomorrow.
You never told me you got a mitre saw! Thanks a lot! 😉